
Building the japanese zig-zag bridge
The idea of the zigzag bridge derived from the famous 11th century Tale of Ise, which contains a description of a beautiful site at which a marsh covered with iris is traversed by a zigzag bridge. It is believed by some that if chased by evil spirits, you will be protected since evil spirits can only go in a straight line and will be unable to follow you around the corners of the bridge.
One of the jobs I want to complete is to build a Japanese zigzag bridge across the iris pond along the lines of the following photo. It will need to only about 9" wide (and not meant to be walked over!) but it will split the iris bed in two. So many things to do!
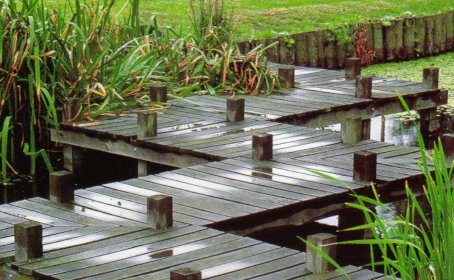
The style of zigzag bridge I would like to copy
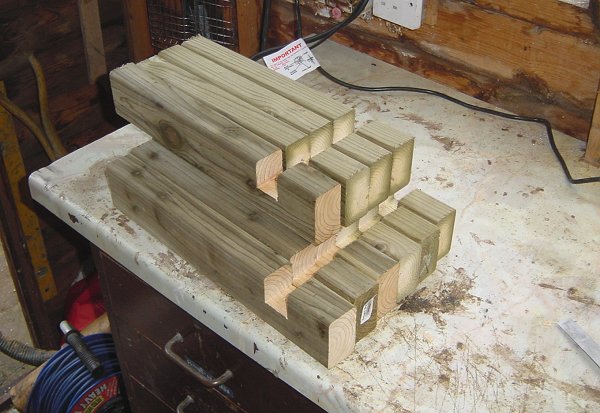
The project started by buying a lot of tanalised wood - this is wood used for garden decking and is protected against rot. However, as the posts will be standing water they will be soaked in something that will help protect them. A dozen uprights were made.
The style of zigzag
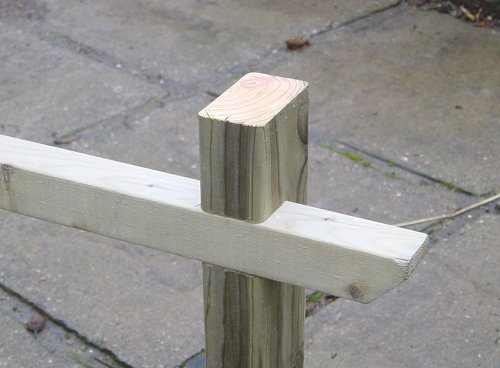
Slots were cut into each one to allow the insertion of the deck supporting members.
The style of zigzag
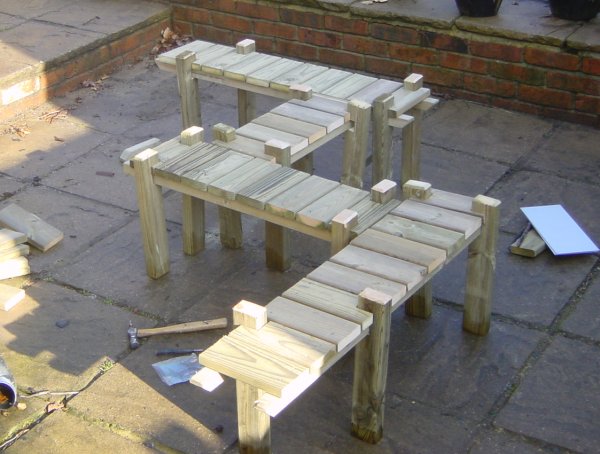
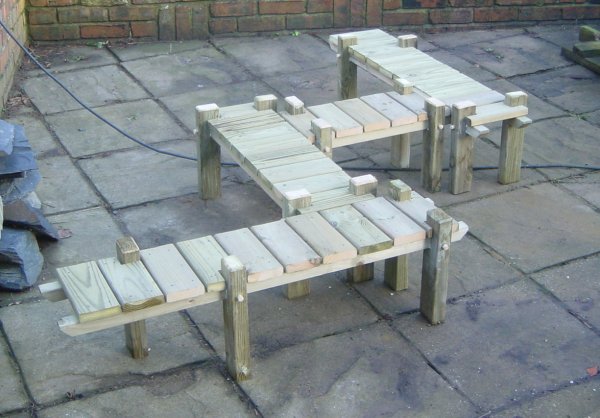
Getting interesting now! The four-sections were roughly laid out and the jointing work started. I had no idea how how it was going to look until I did this!
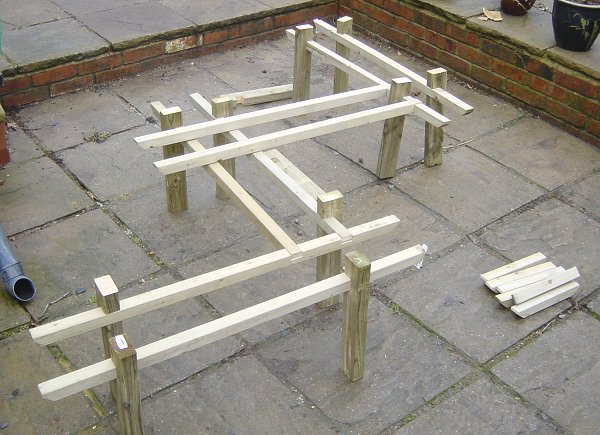
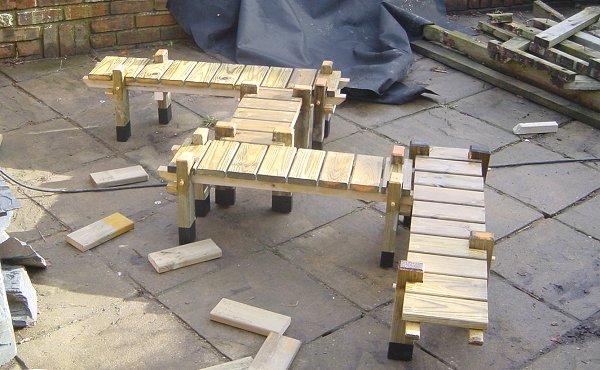
The first attempt at assembly on the patio.
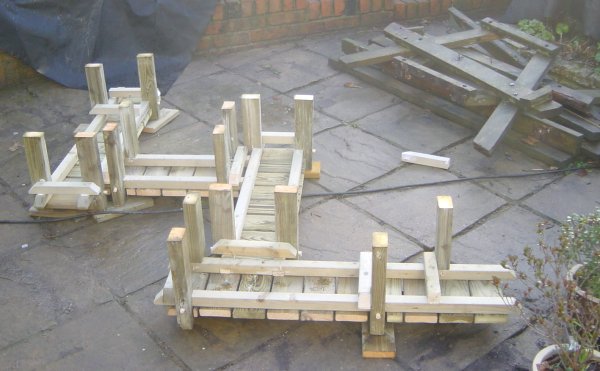
To determine the span of the bridge before finally cutting the lap joints, it was best to try the pieces in situ in the pond (bog garden). The posts will be cut off to achieve the correct height at a later time.
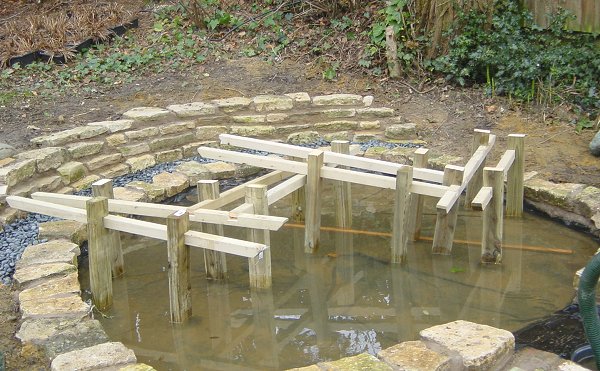
Trying the bridge for size.
The tops of the posts were chamfered with a router. (No, not a Cisco router!)
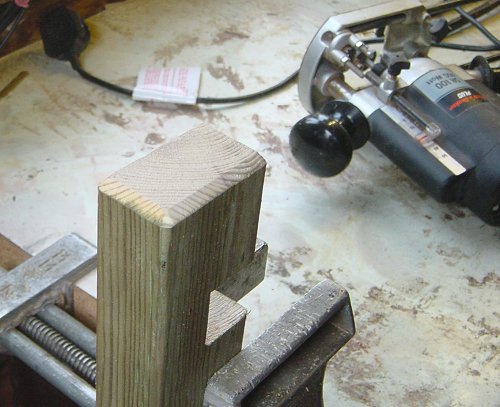
Chamfering the post tops
The next task was to glue the deck bearers together ready for final assembly.
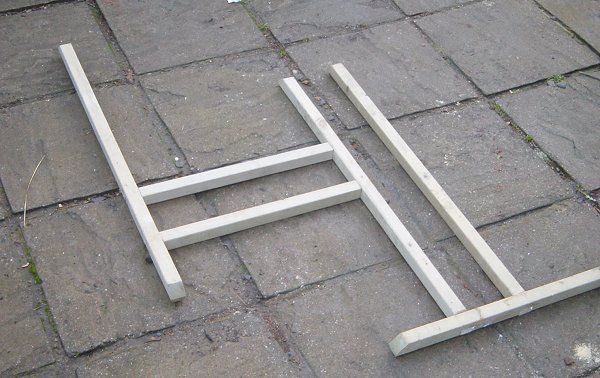
Gluing the deck bears together
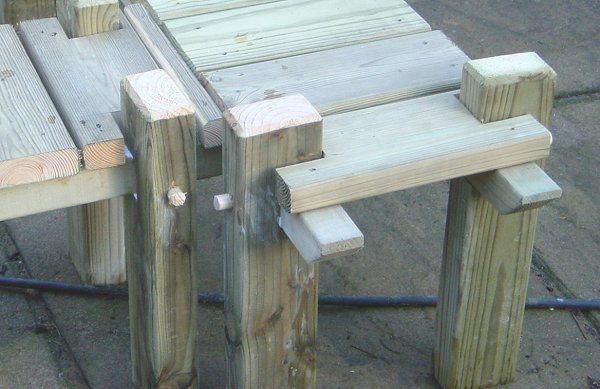
Assembling all the pieces before cutting the posts to height and gluing
The posts were cut to height and held to the bearers using 11mm wooden doweling. The boards were nailed to the bearers and will be back filled using wood filler.
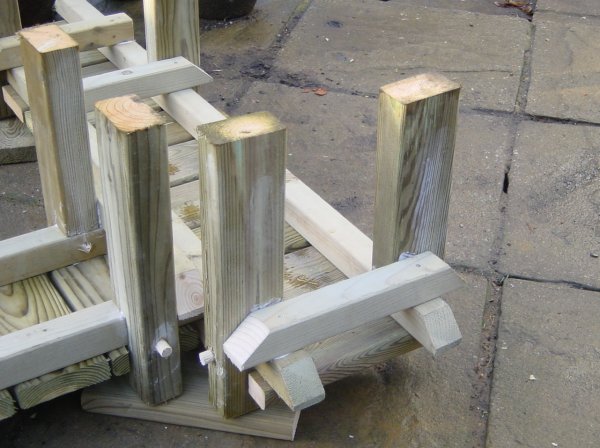
All glued and pegged
Showing the pegging arrangement
All that needs to be done is fix the cross bearers, seal the wood with clear varnish, chamfer the bottom of the posts and paint the bottom 2" with black bitumen paint to minimise water ingress.
Fixing the cross bearers underneath the rails
Close-up of the cross bearers
The bridge after being finished in satin varnish
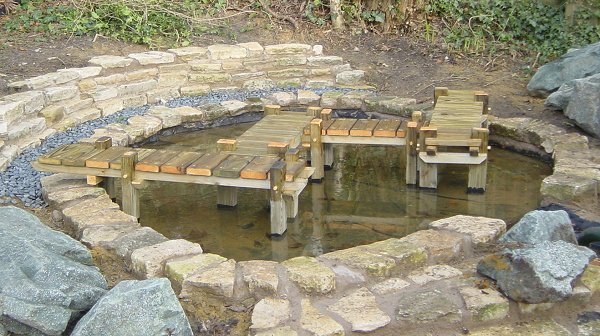
In situ before planting out the iris bed