
Building the lower pool
The first task was to dig the lower pond which will be fed by a stream from the upper pool.
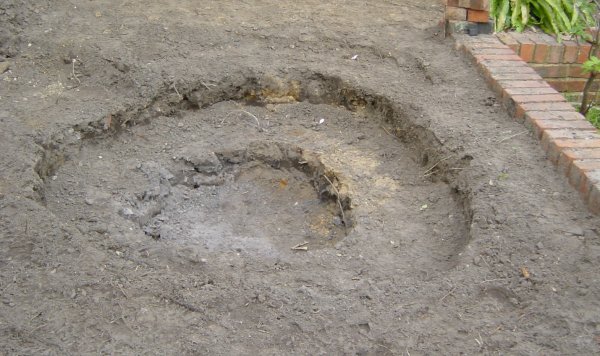
The hand-dug hole
And to lay out and bury the 1.5" pipe that will feed the upper lily pond.
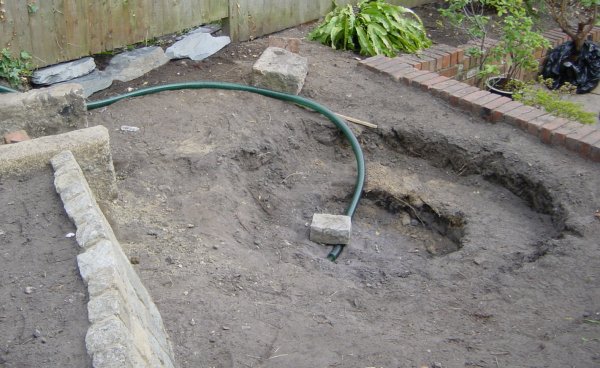
The 1 1/2" pipe feeding the upper pool
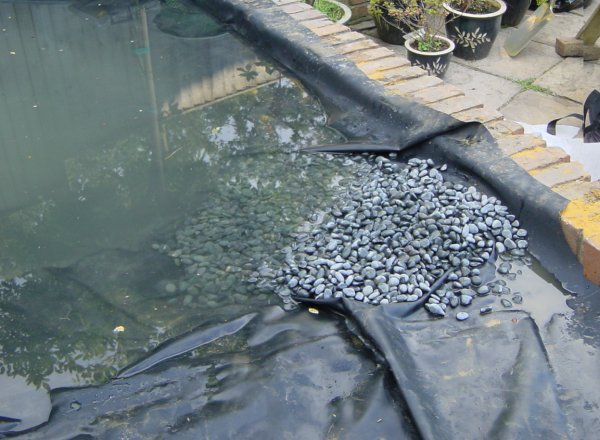
That special moment that follows the laying of the felt and rubber liners... (Notice the slate rock fall at the back)
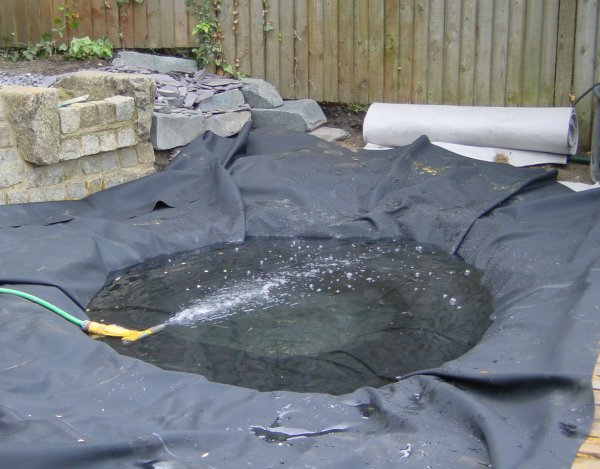
After lining the hole with sand, felt liner and
waterproof liner the time came to fill with water!
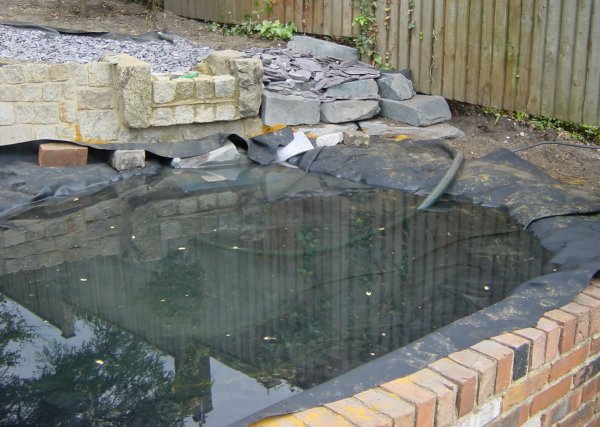
Just about full now...
The big task that follows is to lay down the stones. These are small black pepples imported from Asia.
The fun task starts of laying the black pebbles around the edge
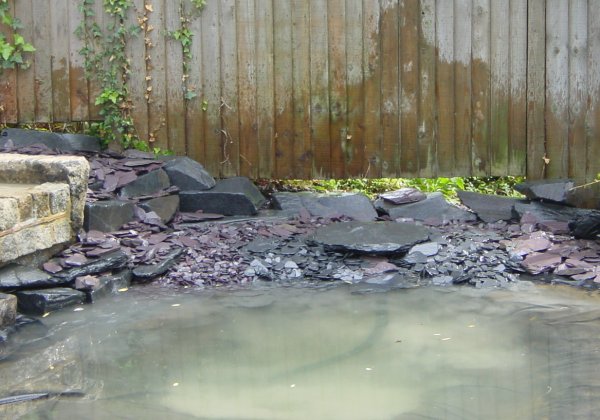
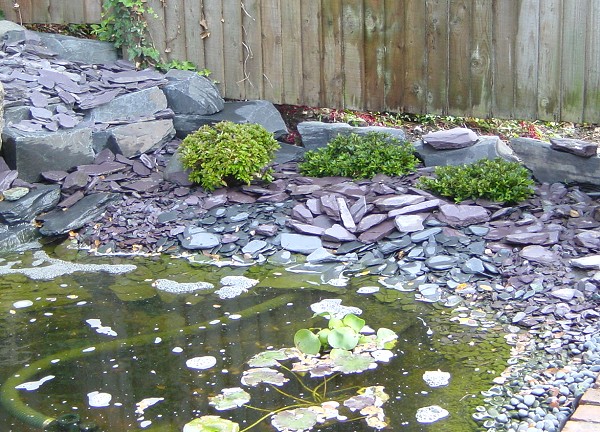
The far side of the pond is covered by large slate scree which looks really nice when wet.
More and more stones...
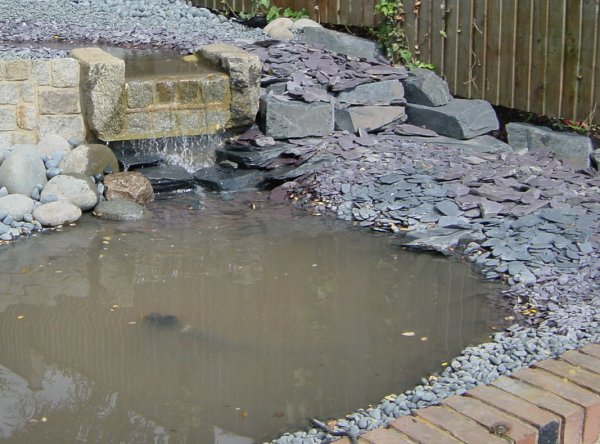
Black stones on the left, slate scree on the right with some boulders in the centre.
Most of the stones in place now, not that
I didn't have to move them several times!
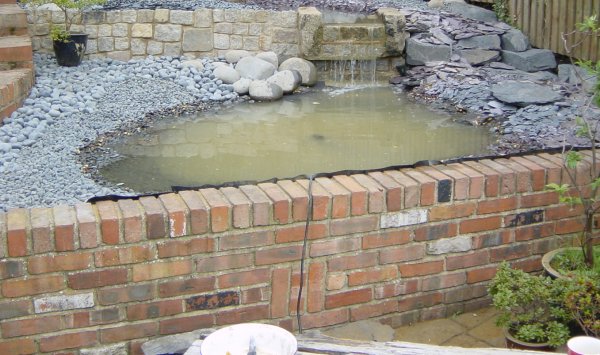
With the water running for the first time...
The Japanese lantern looks very smart placed next to the pool.
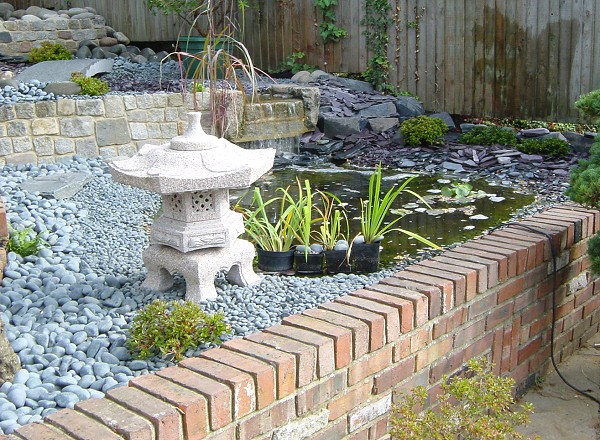
The lantern in place - it-was quite heavy!
The pool will look really pleasant next year when the water lilies and the azaleas flower. The azaleas will be heavily trimmed each year after flowering to keep their habit compact.
The first planting of the azalea clumps. With a
bit of time and training they will look the same
as seen in real Japanese gardens.
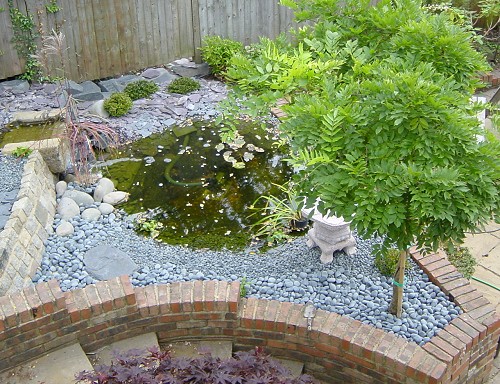
The lower pool rather hidden by the
Japanese Wisteria standard!