
Building the iris upper pond
The iris pond will be full of Japanese irises and hence quite shallow and I'm not sure at the outset whether it will be still of running. Still or running, a large hole is still required! The drain pipe runs down to the stream on the mezzanine 2 level when completed and will be connected to an overflow drain on the iris pond.
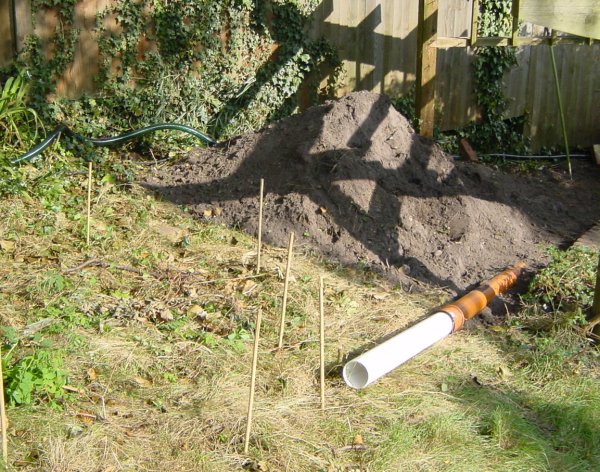
The bank before the digger gets to work. The pipe
feeding the stream can be clearly seen.
The hole is dug and the soil core of granite mountain gets a little higher!
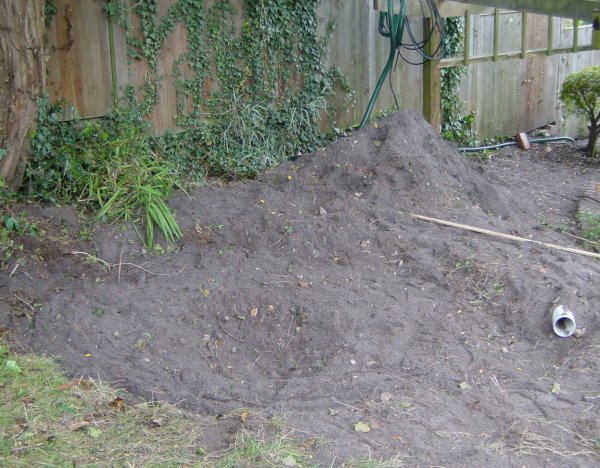
The is dug and the pile of earth got bigger.
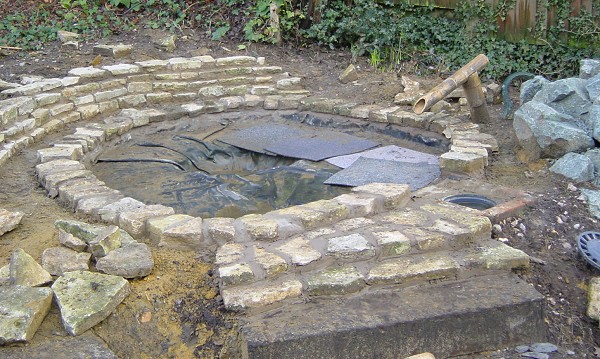
Once the hole is lined, the liners can be laid out.
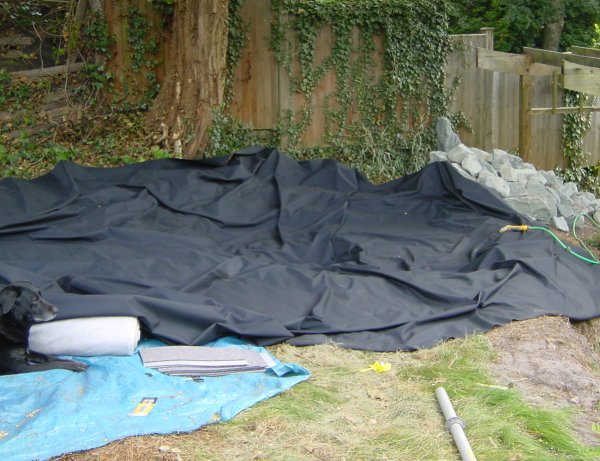
The pond has been lined and is ready to be filled with water
I needed to leave the iris pond for a few weeks while I got on with some other jobs, but in the meantime I took delivery of 40 irises so after I potted them up I couldn't resist dumping them in the pond to see what they would look like. I'll probably need to order some more by the looks of it I think.
Sometimes thing never quite work out; lots of office work to do and business travelling has meant the end of September arrived with no time spent on the iris pond area. September brought the delivery of the irises and after I potted them up them needed to be put somewhere.
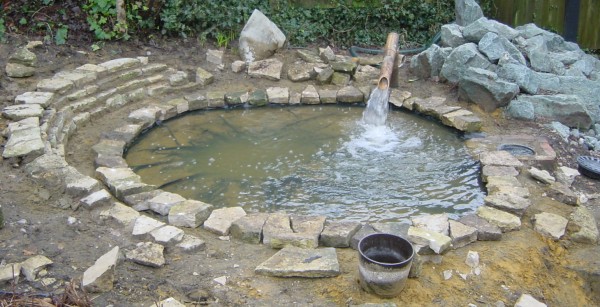
I have now ordered the stone circle for the patio next to the pond (imported from India it seems!!) so I'll be laying that first and then finishing the iris pond afterwards I guess. The iris pond is a still pond (well I'm not sure that's the case) by the way and the photo shows the pump feed placed temporarily in the over-flow pipe that needs to be moved.
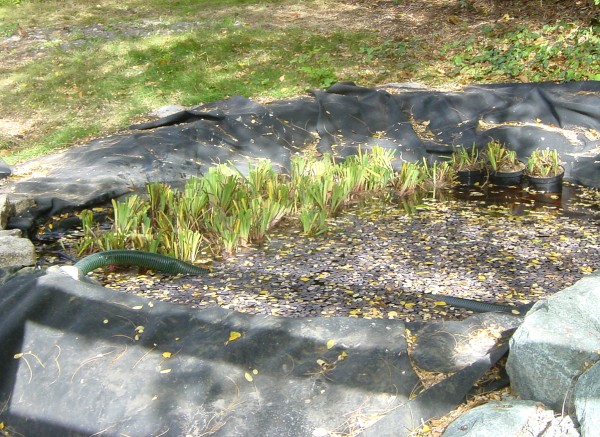
The newly potted-up irises temporarily placed in the iris pond
I decided that the iris pond would not be still so work was started in November 2002 to build the overflow drain to feed the stream.
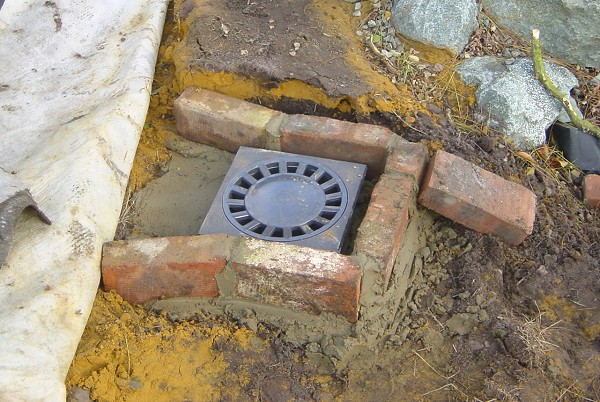
The overflow drain (feeding the stream) for the iris pond
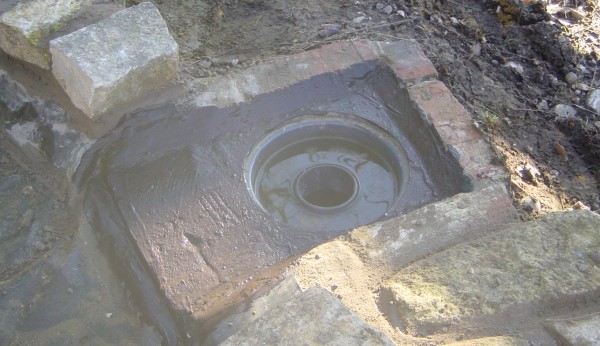
The weather was unusually mild for November so I managed to get a move on in an attempt to complete the iris pond before cold weather set in for the winter. The first task was to build the overflow using a drain bought from the local B&Q warehouse. When finished the concrete will be sealed and the drain covered by boarding which can be removed for access.
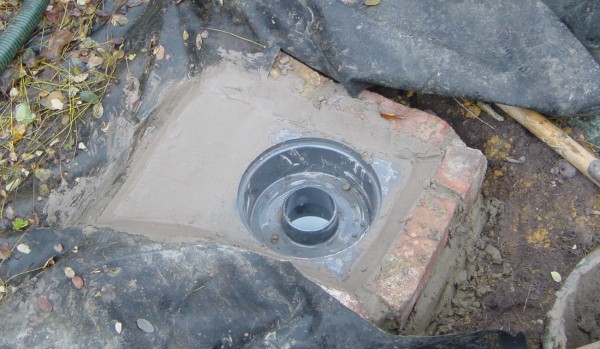
The overflow drain concreted up
The drain was concreted up and incorporated the liner on the pond side.
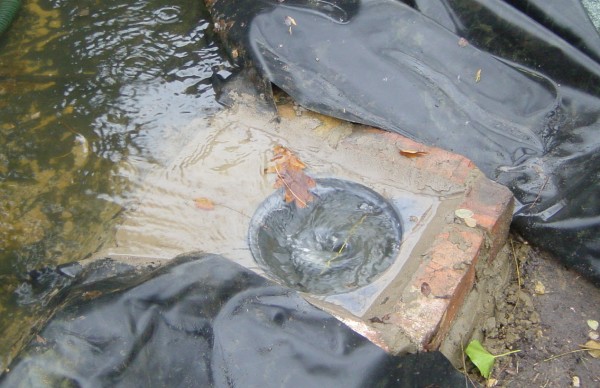
The overflow drain under test.
All seems to work OK so now is the time to empty the pond and sort out the sides which will be edged with bits of Cotswold sandstone.
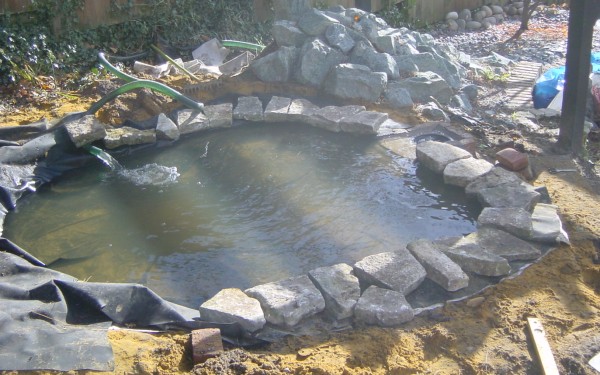
Roughly laying out the edging stones
After much fiddling with levels, I managed to get the levels right and temporarily lay down the edging stones. The next task is build a wall from granite setts of the far side which cuts into the slope. I think I'll make sure my next house is on level ground!
The sandstone edging laid out and I feel another curved wall coming on!
The foundations have been laid for the curved retaining wall behind the pond.
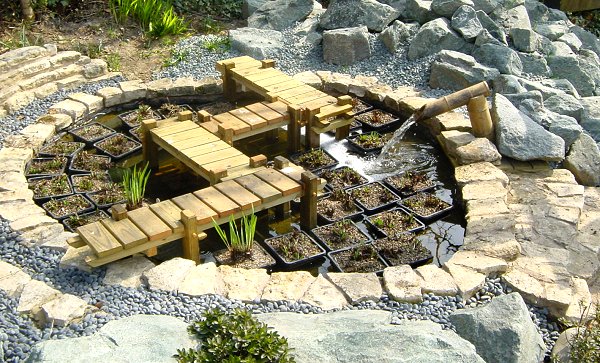
The water feed to the iris pond was built by using a short length of 20cm bamboo pole. The 1.5" pipe is fed up the inside from under the ground. The feature is not in its final position and a too high at the moment.
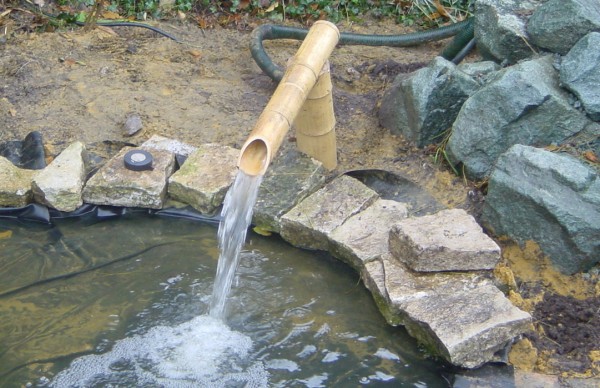
Feeding the pump into the Iris pond
Iris pond retaining wall just after completion
Winter is coming and built the pond retaining wall in late November after a full month of rain! I just praying that it doesn't rain today to give the concrete time to dry. We'll see!
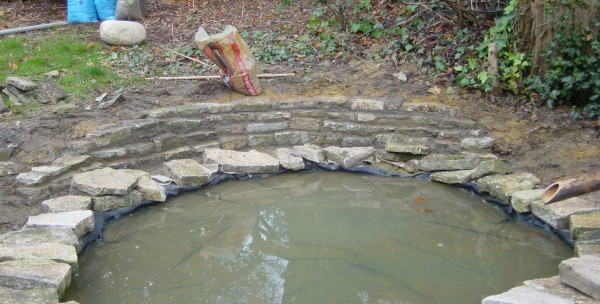
The edging stones laid out ready for concreting
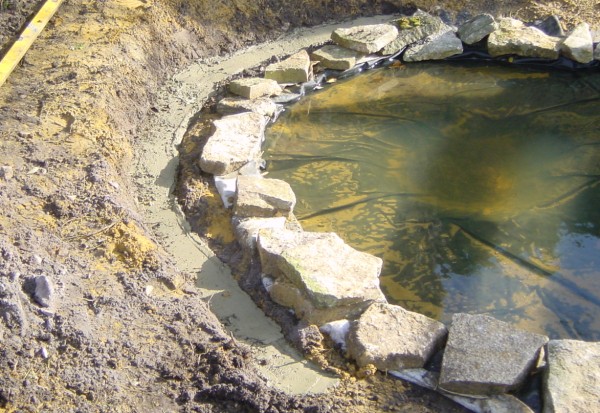
It rained for all of December and the first dry afternoon when I felt like working came a couple of days before Christmas 2002. Over a couple of hours I created a dry cement and sand mix and built the bank around the edge of the pond. This set hard over the next few days. On New Year's eve the sandstone edging stones were tried out with the next task, concreting them in place, awaiting dry weather.
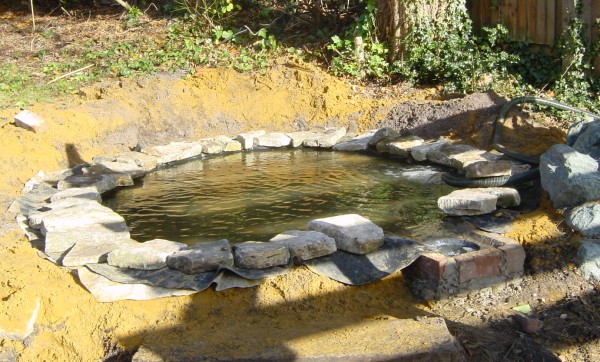
The edging stone now set in place.
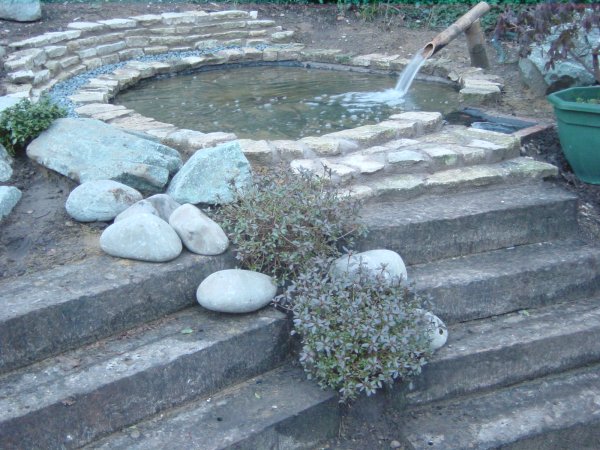
The rained stopped on the morning of January 3rd and the sun shone so I took the opportunity to finish concreting the edge of the pond and the last crazy-paving steps up to the edge from the round patio. I'm pretty pleased with the result and all I need do is to seal the concrete with bitumen roof sealer - and hope it doesn't rain before the concrete drys!
The drain concrete sealed with black bitumen paint.
The fun starts now that I can start to think about rocks and planting around the edge of the iris pond. I've also decided to build a path up to the tea house and a staggered bridge across the pond.
Planting the pond with azaelias.
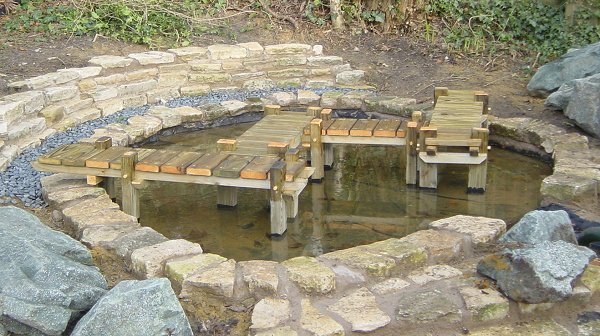
The zig-zag bridge
The iris' starting to grow
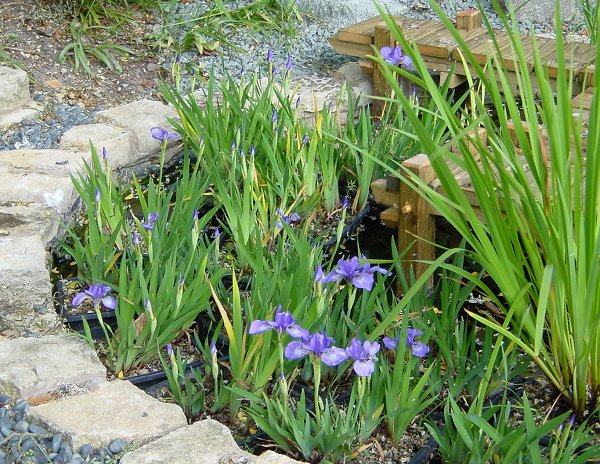
Irises in bloom.