
Building the Japanese bamboo fences
I plan to separate the Japanese garden from the rest of the garden by a traditional bamboo fence. The trouble maker here is our Labrador dog who loves scattering my carefully laid stones after "doing her duty"! So, she has to be banned I'm afraid!
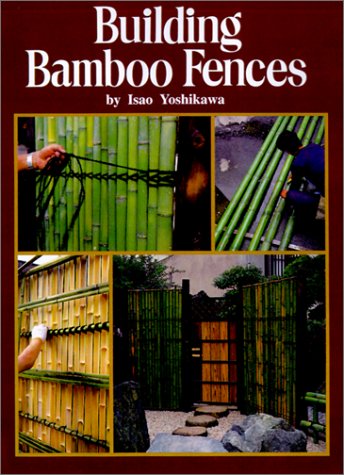
A super book that goes into all the detail about designing and building bamboo fences is shown below. It contains some terrific photographs and step-by-step guides to building a number of traditional fences.
My first purchase for the fence build is the Japanese black twine used to hold the pieces of the fence together.
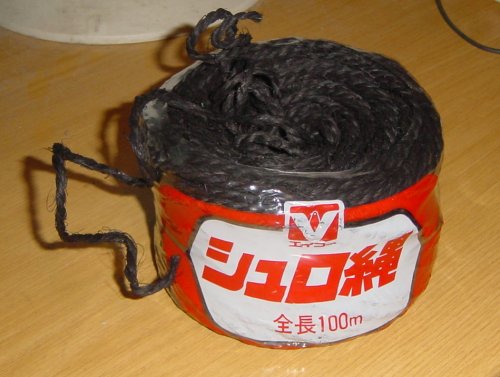
The black palm fibre string used to make bamboo fences
I saw a number of fences while I was in Japan and I have decided to try and recreate the style shown below called "kinkakuji-gaki". All I have to do is now locate a good source of bamboo canes.
I saw a number of fences while I was in Japan and I have decided to try and recreate the style shown below called "kinkakuji-gaki". All I have to do is now locate a good source of bamboo canes.
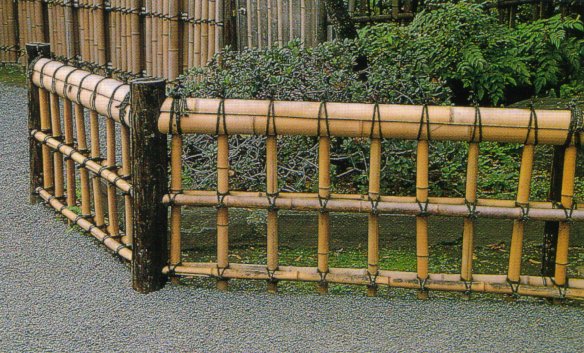
This is the fence design I will try and copy
This is my design. The final fence will have four sections
Bamboo can be obtained from companies such as Thatch International
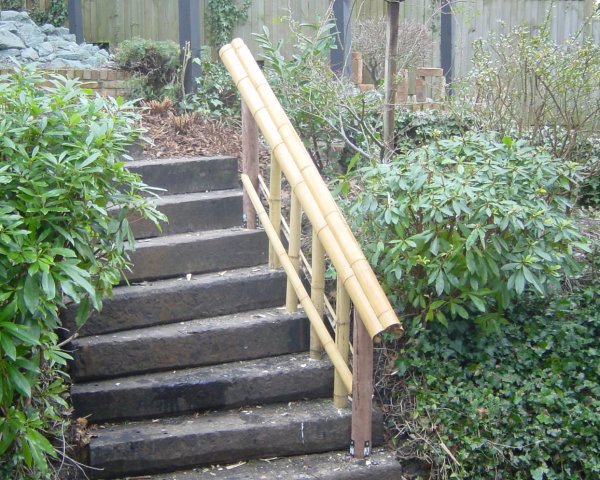
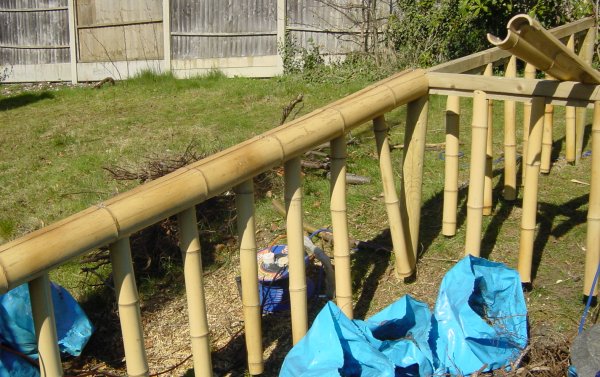
As a trial to building the full fence I decided to build a bamboo handrail on the set of stairs going up to the patio. It turned out to be pretty straightforward by following the guidelines in the book for splitting bamboo and tying the knots.
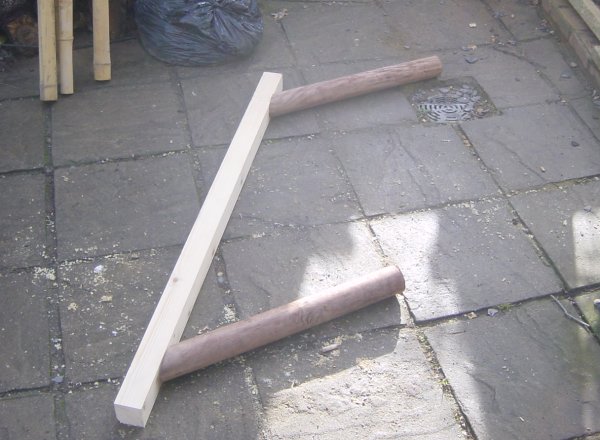
The posts were cut-down fencing posts (28" high)
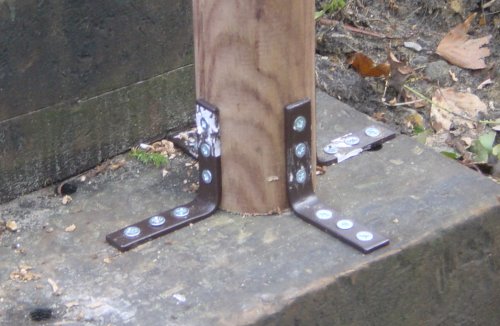
The two posts are held by four steel plates screwed to the steps
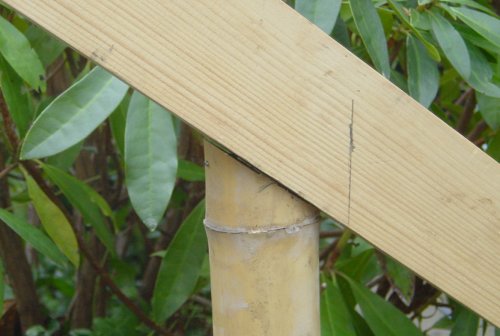
The bamboo uprights were chamfered and nailed to the handrail
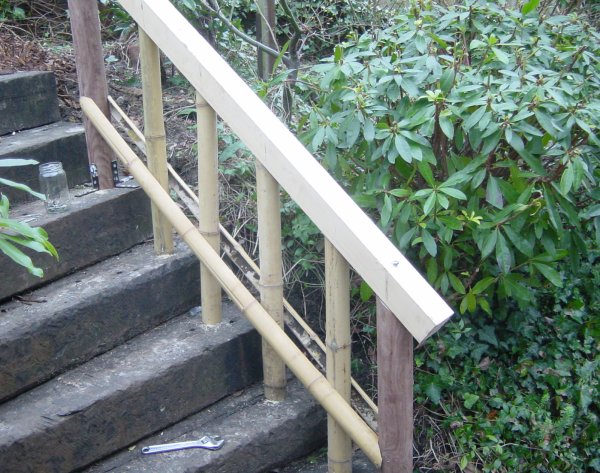
Another bamboo was split and fitted near the bottom of the posts
(I think I'll be adding another horizontal bamboo near the top later)
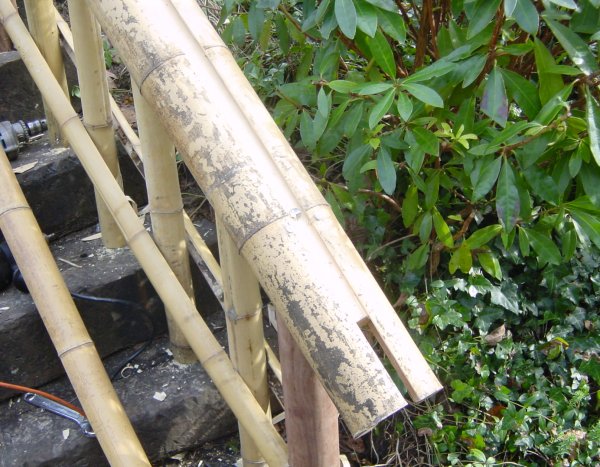
A large diameter bamboo was split and screwed on either side of the handrail
A final length of half-bamboo was screwed to the top
(Ideally, the top length of bamboo needs to be a longer than the two
underneath)

The final step was applying the black palm string
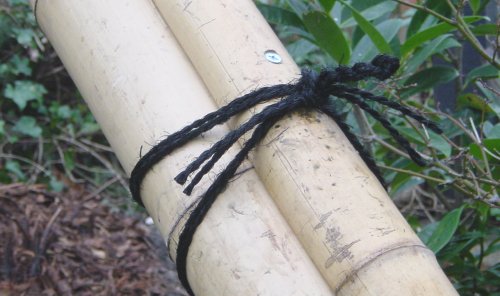
A close up of one of the "tambuchi" knots
March is on us and it's time to start building the man fence. I bought a number of 160mm diameter posts and banged them into the ground - their overall height is 800mm. I then screwed lengths of 1.5" by 1.5" wood to support the bamboo uprights. The gap will for a small gate. I screwed lengths of 1" by 3/4" wood underneath to attached the bamboo uprights. I bought 7 100mm and 40 60mm bamboos for this project. Evidently these are imported from China.
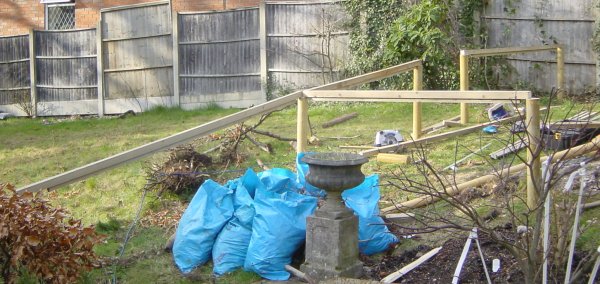
The core of the fence
I cut the 2400mm long, 60mm diameter bamboo into four pieces, each of 720mm long and then cut a slot into one end using a band saw.

The slot in the top of all uprights
The slot would then be pushed over the bar screwed to the horizontal rail. The bamboo will then be screwed using two 1" screws from either side - not forgetting to drill holes beforehand to avoid splitting the bamboo. This arrangement was used to avoid the uprights touching the ground which I though would lead to them rotting very quickly.
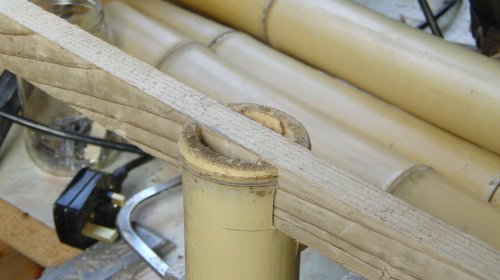
The slot would then fit over length of wood screwed underneath the 1.5" by 1.5"
main bearer

The first four 60mm bamboo uprights screws to the bearer.
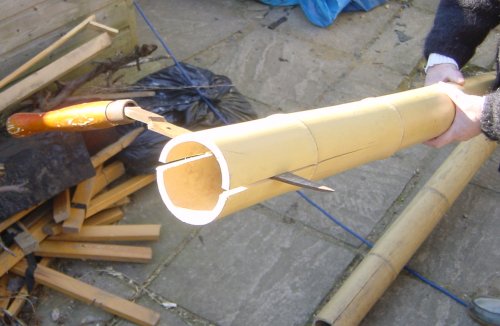
Splitting the 100mm bamboo
I used a cutting blade taken from a pair of shears and a lump hammer to split the bamboo down its length. Be careful with this exercises as it is very easy to get some painful splinters! Most of the bamboo ran true but one or two splits went significantly off-centre wasting half the bamboo.
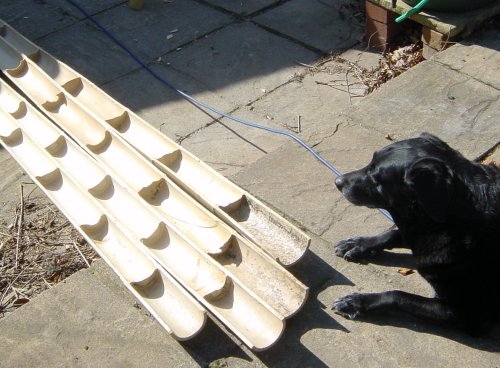
Some of the split bamboo
Two lengths of the 100mm split bamboo were screwed to sides of the horizontal bearer making sure they convered the screws suspending the uprights.
Two split lengths of 100mm bamboo mounted on the posts
A third length of 100mm bamboo was then placed on top temporarily held in place with wire.

Followed by the two split lengths of 60mm bamboo per section.
The fun part starts with all the knots. I tried using gloves but it made the task rather difficult so the rough sizal string really made my hands sore. I won't explain here how to tie the knots as this is described very well in the book at the head of this page.
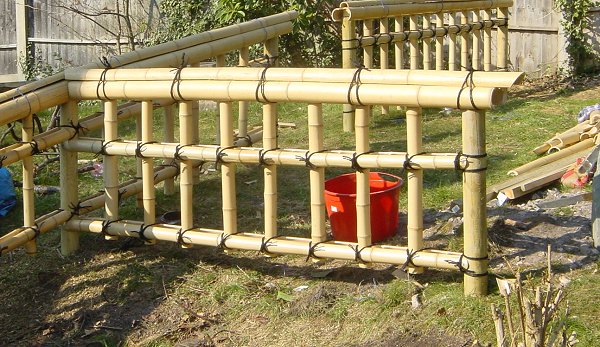
Let the knotting begin!
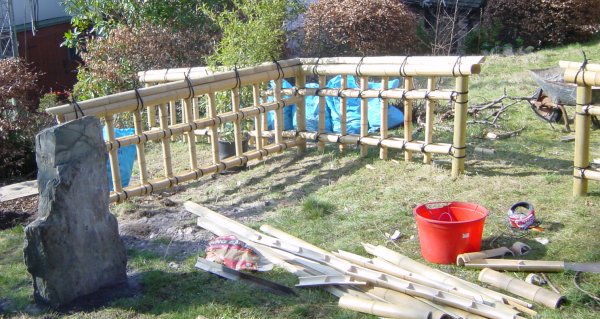
Pretty much finished now other than the gate.
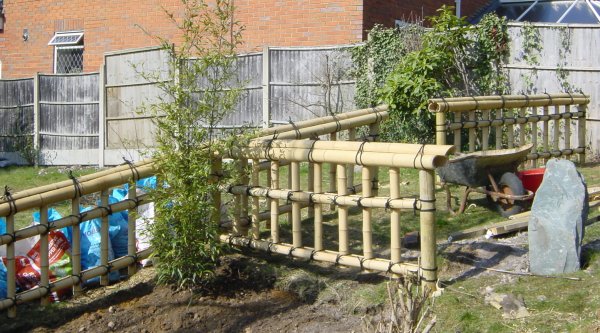
Starting the landscaping and planting
The next fence behind the iris pond
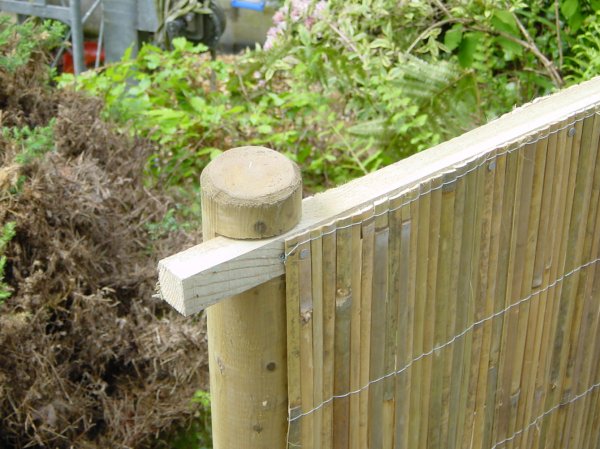
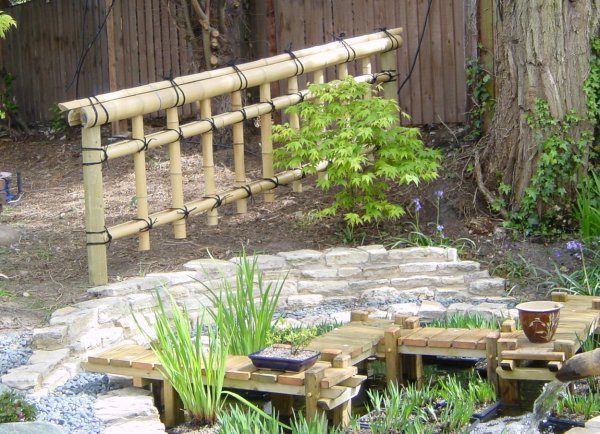
The construction of the small fence
This fence used a 1m by 4m roll of bamboo slat fence bought from the local garden centre. With a little added baboo across the front and top it looks just the job!
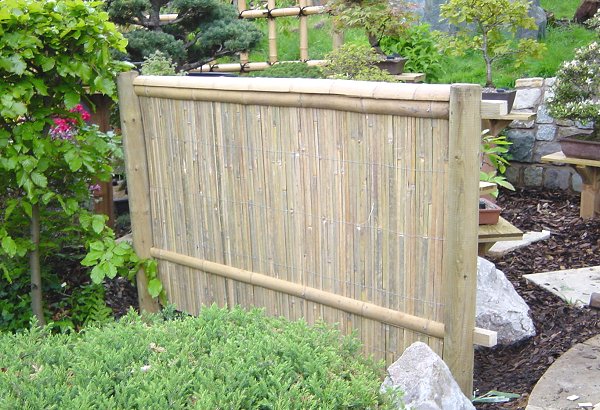
The small fence blocking the view of the bonsai trees